Create a New Workspace
This section provides the necessary steps to create, update, and manage members for your Workspaces. Establishing a new Workspace allows you to build a secure, isolated environment tailored to your specific project or team requirements.
🚀 How You Create a New Workspace
Follow these steps to establish a new environment:
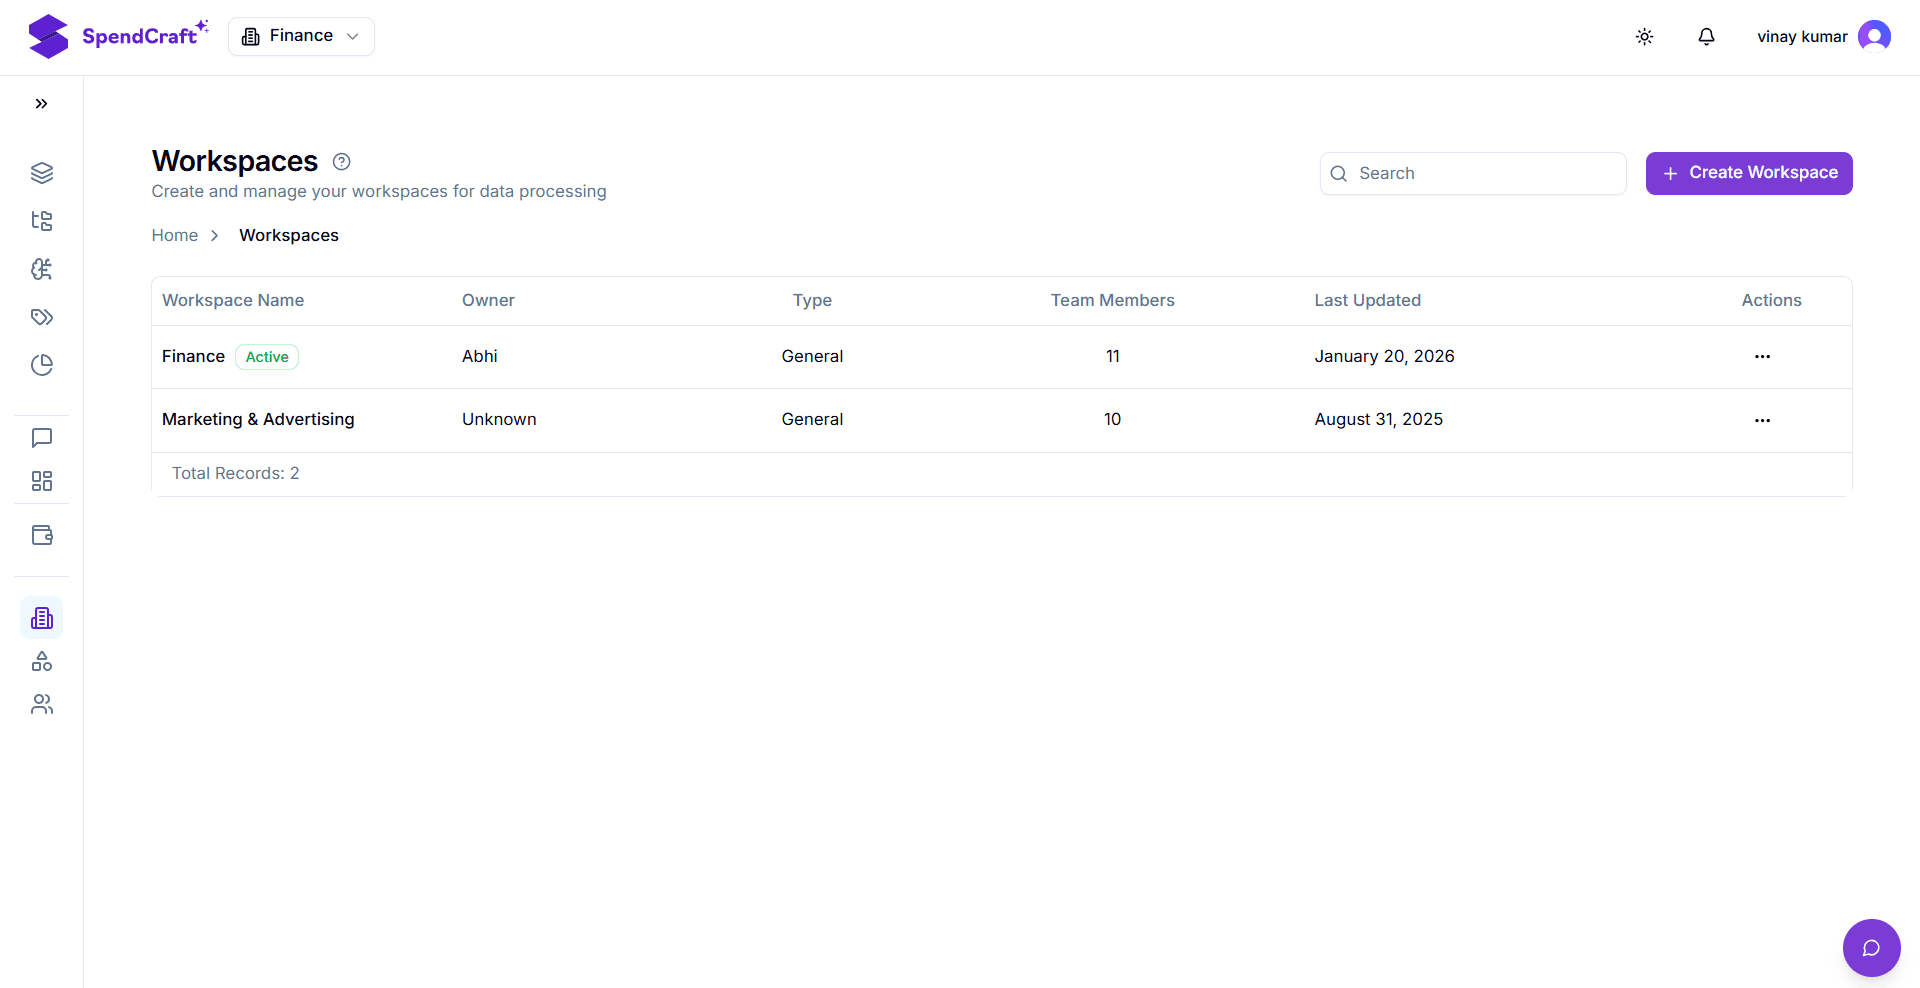
1. Navigate to Workspaces:
From the left navigation panel, click on Workspaces. This will take you to the central management hub where all your existing environments are listed.
2. Initiate Creation:
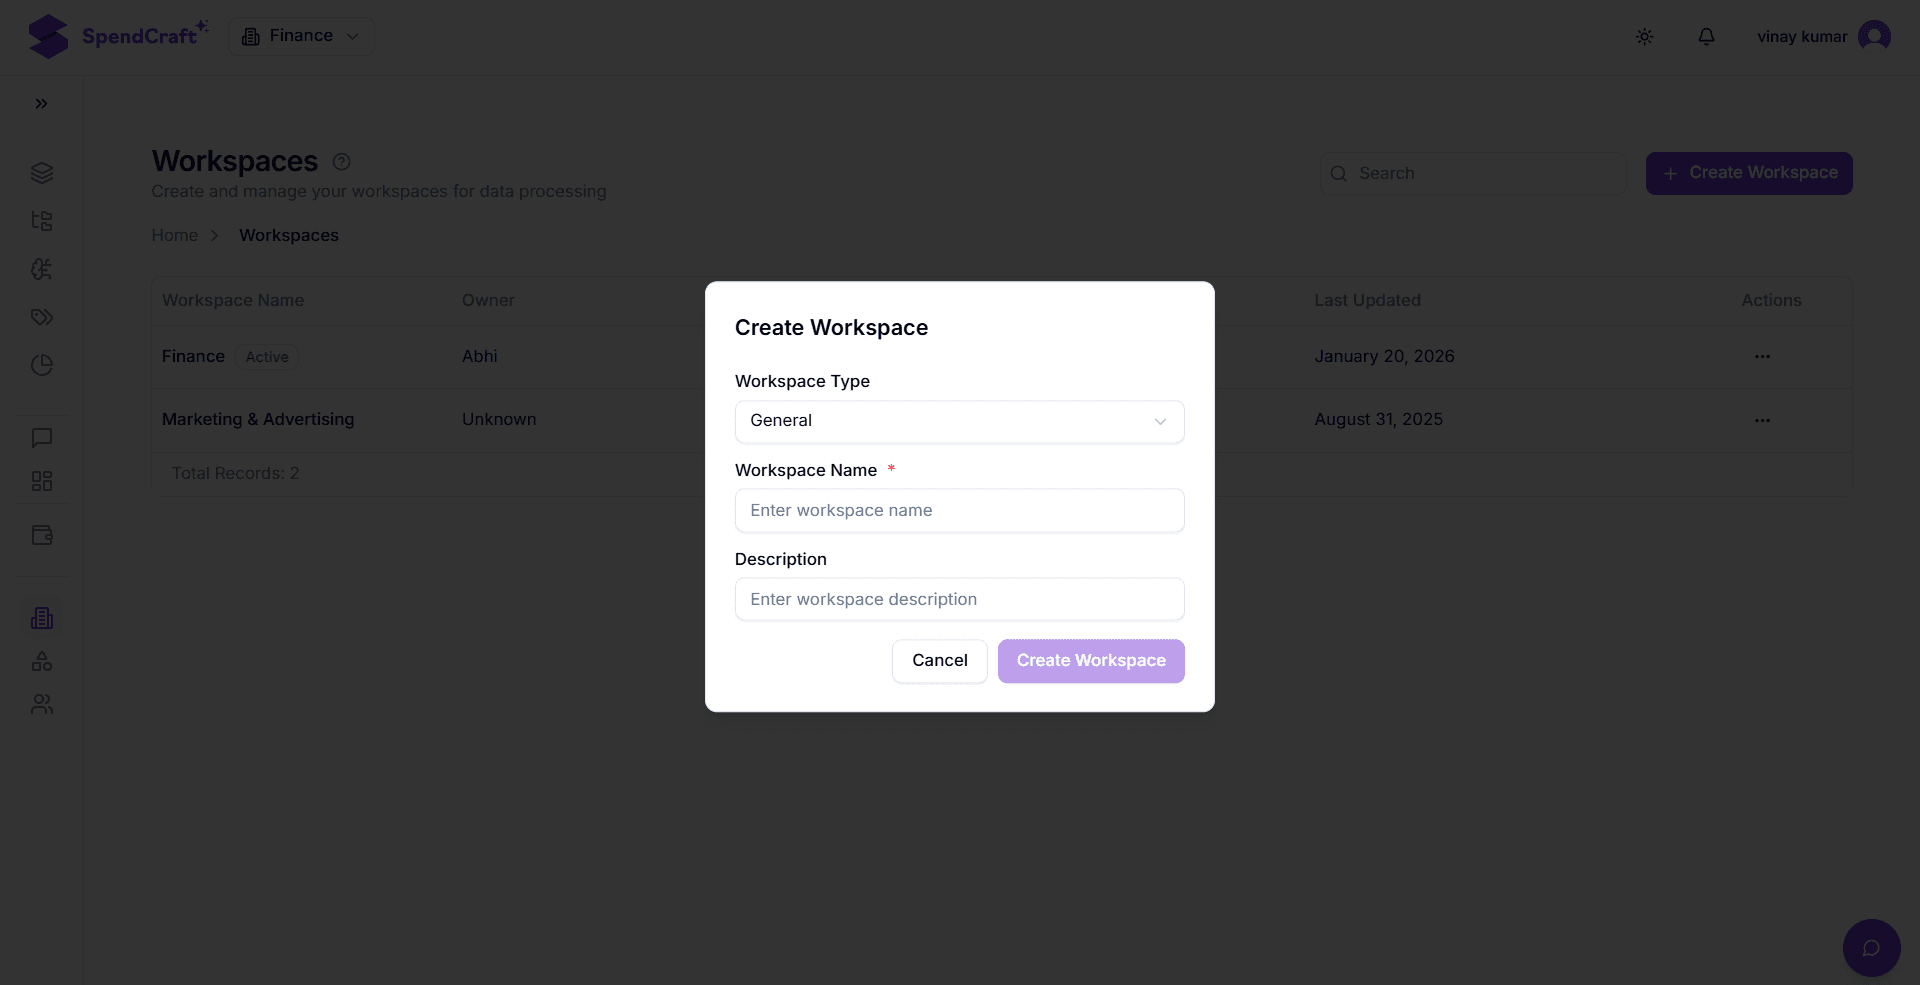
Click the purple + Create Workspace button located in the top-right corner of the screen. The Create Workspace modal will open.
3. Define Workspace Type and Scope:
Click the Workspace Type dropdown and select the appropriate option based on your strategic needs:
- General: Use this for enterprise-wide functions, long-term operational reporting, or master data management.
- Focused: Use this for short-term projects, experimental data analysis, or building specialized models.
4. Enter Details:
- Workspace Name: In this field, type the desired name for your environment (this is a required field).
- Description: Provide a brief explanation of the Workspace's objective to help other team members understand its purpose.
5. Finalize Creation:
Click the Create Workspace button. The new Workspace will be successfully added and will immediately appear in the main Workspaces listing table.
💡 Quick Tips for Workspace Naming
- Be Descriptive: Use names like
FY26_Marketing_AuditorGlobal_IT_Operationsinstead of generic names likeTest_1. - Use the Description Field: Clearly state if the workspace is for production reporting or experimental testing to avoid confusion during data audits.
Next Step: Now that your environment is ready, learn how to grant access to your team in the Managing Workspace Members Guide.