Auditing & Configuring the Agent
Once an Agent reaches the Ready to Classify status, you can enter its detailed configuration view to audit results and refine the model’s intelligence. This process ensures your classification logic remains precise and aligned with your business needs.
🛠️ The Auditing Workflow
-
Access the Agent Details: Click on the Agent Name (e.g.,
ICP_03) from the main list, then click the Configure button in the top-right corner.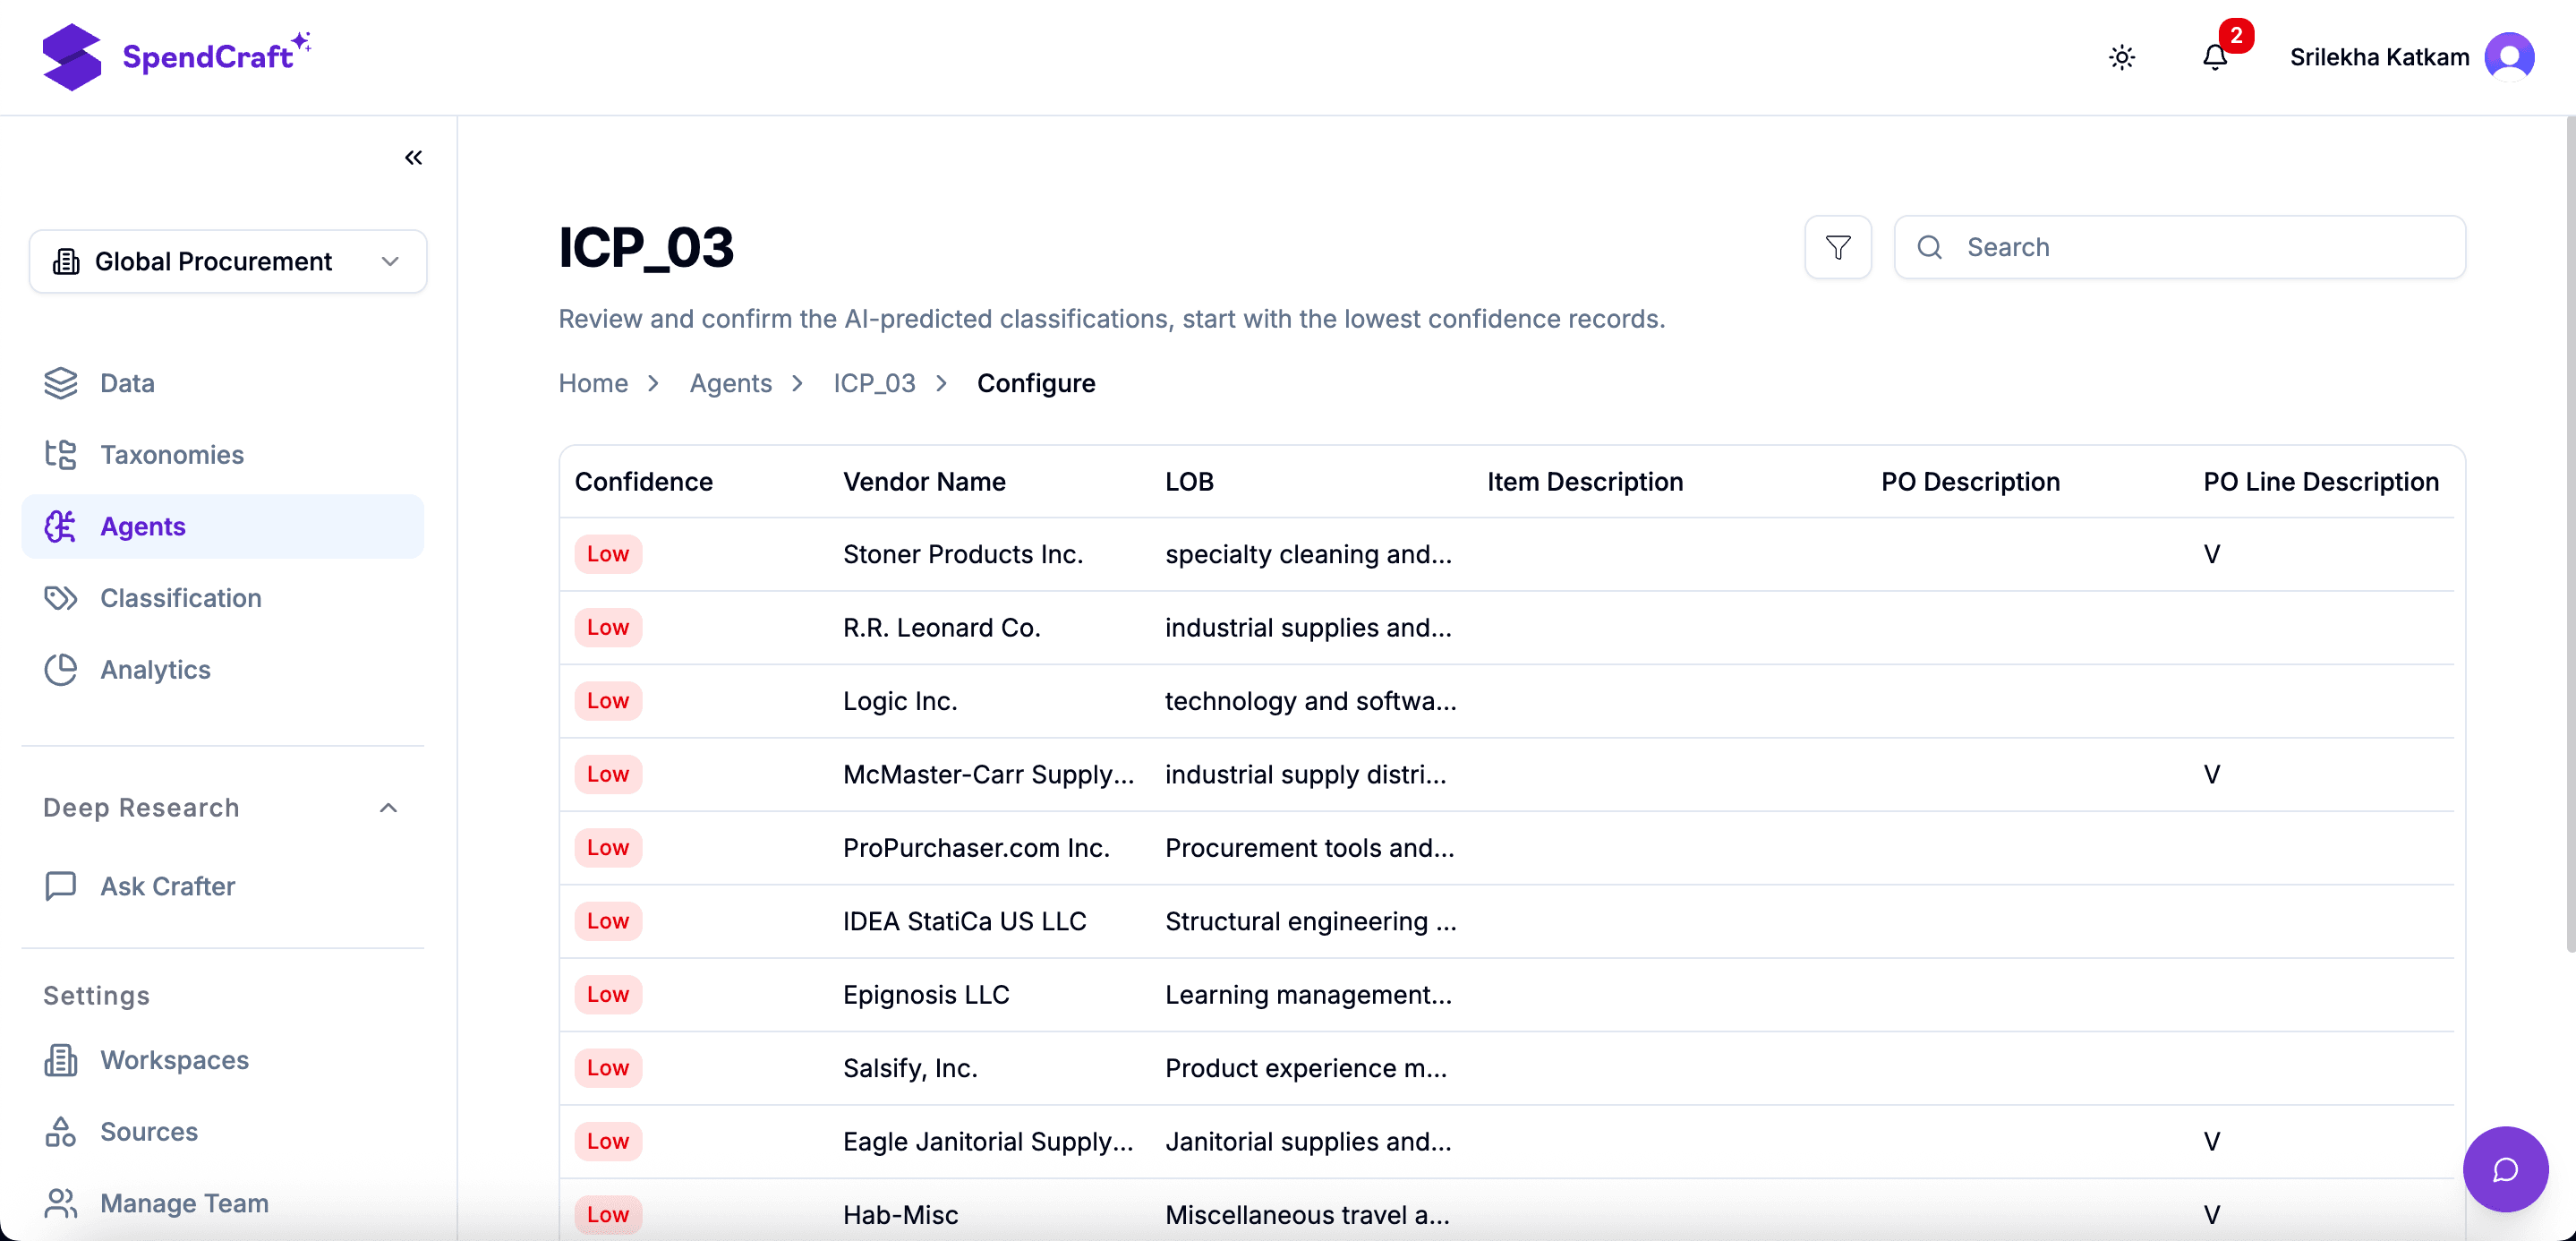
-
Prioritize Low-Confidence Records: The interface displays classified transactions alongside a Confidence Score. Focus your attention on records marked as Low. These are items where the AI's pattern recognition was below the required threshold (e.g., < 80%).
-
Perform Manual Correction: Review the Vendor Name and Transaction Description for flagged items. If the Agent predicted incorrectly:
- Select the correct Classification Path from the dropdown.
- Save the change.
Note
Every manual correction acts as a new "training point." The Agent instantly learns from this feedback to handle similar transactions more accurately in the future.
- Monitor Health Metrics:
Use the header dashboard to track the overall stability of the model:
- Confidence Score: The aggregate accuracy rating (e.g., 99.83%).
- Coverage: The percentage of the total dataset successfully classified.
- Last Updated: The timestamp of the most recent model refinement.
🔄 The Continuous Learning Loop
Auditing isn't just about fixing the data; it’s about "training" your digital assistant.
- High Confidence: Transactions that match your historical data perfectly.
- Low Confidence: New vendors, ambiguous descriptions, or complex service categories that require your expertise.
💡 Strategy for Large Datasets
If you are managing millions of rows, you don't need to audit everything. Filter the view by Spend Value and Confidence: Low. By correcting the highest-value items first, you maximize the impact of your manual effort on the total spend visibility.
Steps
- Start Configuration: Click the Configure button at the top right.
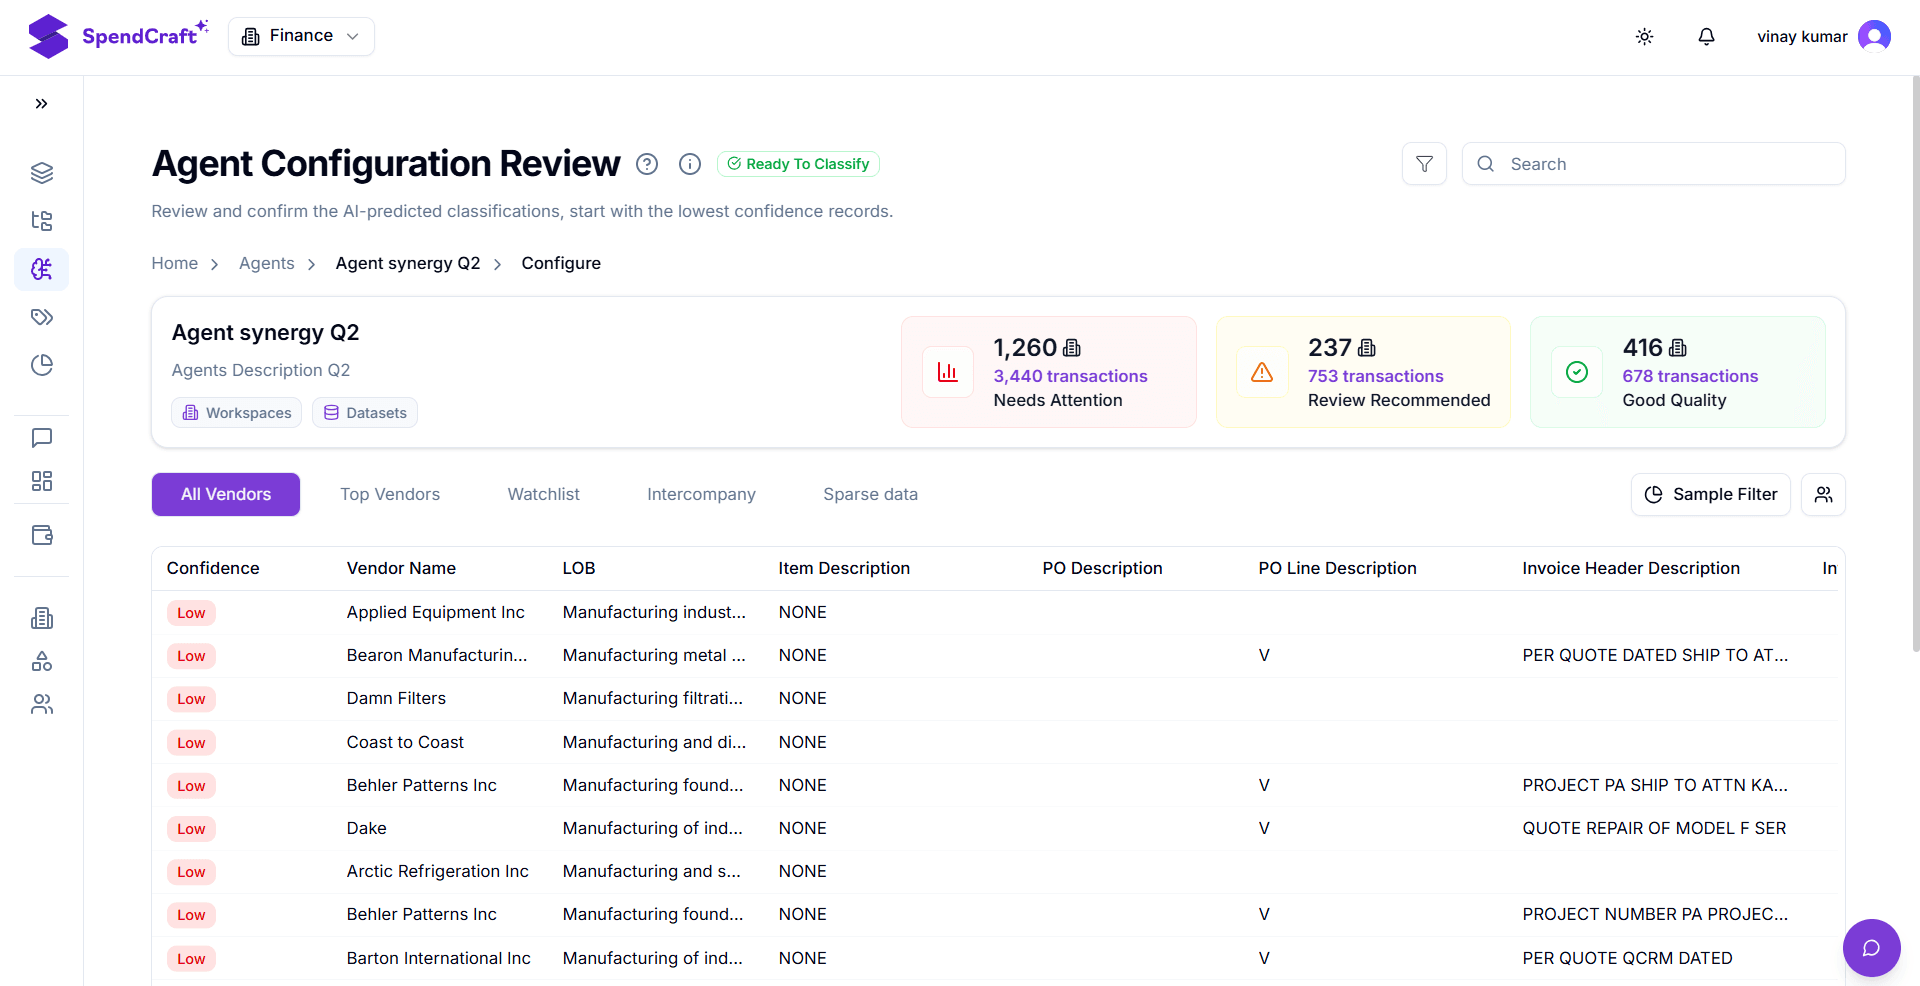
- Focus on Low Confidence: You are now viewing the classified transactions. Look for records marked with Low confidence, as these are the transactions the Agent is least sure about.
- Perform Auditing: Manually review the Vendor Name and Item Description for each Low confidence transaction and you assign the correct classification path. This manual correction directly improves the Agent's accuracy.
- Review Metrics: Check the dashboard for the overall Confidence score ($99.83%$ in the example), the Taxonomy Level being applied, and the Last Updated date to monitor the Agent's health.
Next Step: Once you are satisfied with the Agent's performance, learn how to Publish Results to a Workspace.